Showing posts with label Paper Camera. Show all posts

Thursday, July 17, 2014

Week 28 of 365 Days of Art Challenge

It's been an exciting week and has kept me busy enough that I didn't get this posted yesterday as planned. My daughter came over yesterday to tell me she was pregnant!! It's her first! So she's very excited, but nervous, too.

On to the 365 Days of Art Challenge - Week 28! Time just keeps marching forward! I did some more digital art this week. I worked with my Paper Camera app that I mentioned in last week's post (Week 27 of the 365 Days of Art Challenge).  I chose a photo that I took of my 2-yr old grandson playing the piano and then used the different effects available in Paper Camera to show the features of the app. 

This is my original photo - a vignette of my grandson singing while playing a small electric piano. I had planned to use a flower image, but the photo of my grandson shows off the various effects better.  
Vignette of 2 year old grandson singing while playing electric piano.
I originally edited this photo using Photoshop Elements.
 
 Following are the 14 effects available in the Paper Camera app. There are various choices in each effect (background, brightness, colors, contrast, edges, foreground, lines, saturation, quantization, shine, slickness, strokes, water, vignette)  that can be manipulated to change the final outcome of the photo. Paper Camera can take a photo to work from or use a photo already on your tablet to create digital art. I thin this app creates some interesting effects to use in digital art.

I tried to put these in a video format. The preview worked great, but every time I then saved the final version, the program would crash. The company said it's a bug in the program and they are working on it. Hopefully next time I have so many photos (especially of a series), I can put them in a video!  

Acquarello produces a watercolor effect. 
Andy Pop is reminiscent of Andy Warhol's work.


Bleaching washes out the colors.
Comic Boom creates a comic book look.

Contour creates a monotone drawing. The color can be changed. 

Gotham Noir creates a rich black and white image.

Granny's Paper produces a sepia-toned image.
Half Ton creates a dot matrix effect in color. 
Haystacks is reminiscent of pointillism (creating an image using dots of color).
Neon Cola creates an effect like a neon sign - bright, bold colors against the dark night. 

Old Printer - The image appears to have been created on an old dot matrix printer.
You probably need to be over 40 to remember the old dot matrix printers. Lol!
(I'm certainly dating myself since I remember using these printers!)  

Pastel Perfect gives the soft effect of pastels.

Pen and Ink produces a blue monotone image.


Sketch Up produces a pencil or charcoal- like drawing of the image. 


Thank you for checking out all the effects that Paper Camera can create with me. 


Keep creating!!


Thursday, July 10, 2014

Week 27 of 365 Days of Art Challenge

View of dust storm heading our direction (coming
west) Photo taken from backyard. The opaque 
cloud that can be seen over the tree tops and
roofs is the dust storm. The trees and roofs give
an idea of how high the dust cloud is. Blue sky 
can still be seen above this cloud of dust.
It's been a hot muggy week here in AZ. We officially started our monsoon season with a huge dust storm last weekend. Visibility was reduced to 0 in some areas. I went outside to check on the chickens and could see a wall of dust coming our way quickly! By the time I got my husband to help me round up the chickens to enclose for safety, they had already gathered in their nesting box and we were able to just close it. They are smarter than I give them credit for!! The storm hit just then. Hard to see with keeping my head down and eyes covered (still got dust and dirt in them!). Wish we had gotten rain with the storm!

View of dust storm heading our way from front yard (coming up from the south).  The dust storm looks bigger from the front yard. The wind was strong enough to topple huge trees in the neighborhood.  

I played on my tablet this week with two photo-editing apps. One is Pixlr Express, which I use frequently to touch up pictures. This app also allows me to combine photos, add text, texture, stickers, etc. to photos as well. It's fun to experiment with. The above photos of the dust storm are edited in Pixlr Express to help emphasize the dust clouds.  

The other app I enjoy using on my tablet for editing photos is Paper Camera  because of the choice of effects that can be used to make photos look like drawings or paintings. The following photos are ones I edited in Paper Camera. 

My Jack Russell Terrier, Abu, is 15 years old. He loves to sleep on his pillows all day, except to take a walk or to eat people food or a doggie treat! I love the Sketch Up effect in Paper Camera. This photo really looks like a sketch, even though I've not picked up a pencil at all! This is my sketch for this week! Lol!!
With this photo of seed pod on a cactus in our front yard, I used the Neon Cola effect of Paper Camera.
It creates bold outlines of the various colors in the photo and puts them on a dark background. 

Photo of my daughter edited in Paper Camera using the Haystack effect. The Haystack
effect transforms the photo to look like it's been painted using pointillism (tiny dots of color). 
A photo I took in Sedona last fall. I used Paper Camera's Acquarello effect. This

makes the photo look like a watercolor (albeit a paint-by-number watercolor! Lol!).
This is another photo from Sedona. I used Paper Camera's Andy Pop effect to create a tiled
image in the style of Andy Warhol. The number of rows and columns can be changed. 
This is another photo I took in Sedona last fall. This is the Pastel Perfect effect to make the photo look like it's been painted in pastels. I like this effect, but wish it were a bit lighter and brighter. 
This time I used the Gotham Noir effect from Paper Camera with the same photo
as above. Gotham Noir creates rich black and white images of photos. 

I hope you enjoyed the various effects of the Paper Camera app. These are only half the effects available in Paper Camera. There are a several other styles in Paper Camera that I did not show today, like Comic Boom (I believe this is suppose to give a comic book like effect), Old Printer (black and white dots like the old printers use to do), Contours (looks more like a charcoal drawing with outlines), Bleaching (the photos is outlined with the colors faded), Half Ton (similar to the Old Printer but in color), Granny's Paper (sepia toned), and Pen and Paper (photos is done in shades of blue).  I'll create photos using those effects and post them in another blog.

Made it through another week! Keep being creative!!


Monday, March 31, 2014

Book Club - Mixed-Media Self-Portraits continued

Mixed-Media Self-Portraits: Inspiration & Techniques
by Cate Caulacos Prato
The book club started by Deb Prewitt of Blue Twig Studio continued reading the next chapter of Cate Caulacos Prato's Mixed-Media Self-Portraits: Inspiration and Techniques this month. (See review of the first chapter at Blue Twig Studio's blog here and my blog here.)

The second chapter has focused on "Knowing Thyself: taking the first step toward a self-portrait."  It started with a couple of exercises to understand yourself better - i.e. What color are you? Who lives here? Answering questions about your what you have surrounded yourself with in your home. And lastly, who would you like to be? Children have no problem drawing themselves as who they imagine they are - a princess, a pirate, etc. Who do you imagine yourself to be?

She follows this up with self-portrait exercises - studying yourself in a mirror and getting to know your face.  I like the quote by Leonardo Da Vinci

"The mirror, above all - the mirror is our teacher." 

I love the directions given for drawing the eye. I think the eye is the hardest part of the face to capture. I've done many portraits in colored pencil and oils over the years and it's always the eye that is the hardest part of the face. Without that, the person just doesn't look right. Her directions are great for how to capture the eye!

She also discussed digital portraits, caricatures, gettting started and putting it all together. Several artists shared their thoughts and journey to create self-portraits. Not all portrait examples contained faces. I think that relieves some of the pressure to draw a face that actually looks like you. Portraiture is difficult for most people, and I think that's why doing a self-portrait can be very scary. This chapter helps with easing some of those fears, while giving many helpful ideas to know yourself better and suggestions for creating a self-portrait.

The last several days, I played with a few different photo-editing software to create several digital self-portraits. I used Adobe Photoshop Elements, Pixlr Express, Paper Camera, and FotoRus. They all have slightly different features. I had lots of fun playing. I created a photo collage of some of the self-portraits I had the most fun creating and/or liked the best.

Digital Self-Portrait collage created in FotoRus with InstaMag.
Clockwise, starting in the lower right-hand corner: I used Adobe Photoshop Elements (PE) to crop a photo and enhance the color to create "Just Me, Myself, and I". I further edited this in PE, changing the coloration to create "Bold". I thought the purple skin and green clothing made for a bright, bold portrait. Again in PE, I changed the colors to make a monochromatic blue portrait, then rippled it and used the gradient to create "Fading Away".  In "Unadorned", I took the original self-portrait in PE and turned it into a black and white portrait with warm highlights.  "Sketch" was created in Paper Camera.  In "The All-Seeing Eye", Pixlr Express created 3 slightly different facial views, each a different color, which I imported into Paper Camera for the neon colors. Finally, I used FotoRus with Pip (picture in a picture) to center the eyes of the portrait in a drop of water. "Electric! (or eclectic?)" was created in Pixlr Express using special effects and overlays.  Finally, the blue portrait created in PE was imported into FotoRus Pip to make "Auntie Em, Auntie Em". The bubble reminded of the Wizard of Oz, when Dorothy is calling for Auntie Em in the crystal ball while locked in the room by the Wicked Witch of the West.  

I created a few other digital self-portraits besides the ones shown here. I had so much fun playing with the different effects to see how I could manipulate the portrait. Another great thing about working digitally is I could delete anything I didn't like!! Lol! Working digitally also gave me ideas I would like to try on paper, in paint, or with fabric. 

This chapter has been inspiring to me to create self-portraits and not feel so self-conscious about it. I want to experiment and play now!


Thursday, March 27, 2014

Rippling and Warping Photos

I decided to play with Adobe Photoshop Elements this week. I've been struggling to learn how to use this program (a guide book would sure be helpful!). It's a great program, but I don't find it extremely user friendly. I'm determined to learn how to use the program in my lifetime (it will probably take me that long, too, especially since they update the program and change some of the filters and how to get to them periodically!).

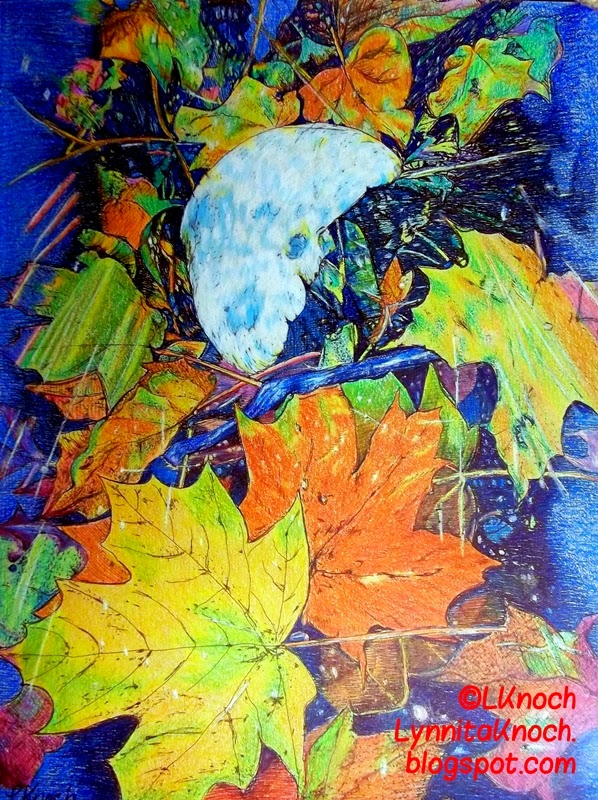
The two main things I played with this week are "ripple", which creates ripples of various frequencies and width in the photo, and "warped", which lays a grid over the photo and allows you to move the grid points around creating a warped grid. I played with four different photos this week. One is a flower photo I took at the Phoenix Zoo, another is a drawing I created (Week 7 of 365 Days of Art Challenge) from a photo of autumn leaves I took in Ohio last year, a third is a sunset last fall, and the fourth is from a photo of a pot of vegetables I cooked to create a chicken pot pie.

Bird of Paradise taken at the Phoenix Zoo. 
Bird of Paradise after it has been rippled and warped in Photoshop Elements.

Autumn Leaves pen,  ink, and colored pencil sketch I did for
Week 7 of the 365 Days of Art Challenge.
Autumn Leaves sketch rippled and warped with a
gradient added in Photoshop Elements.
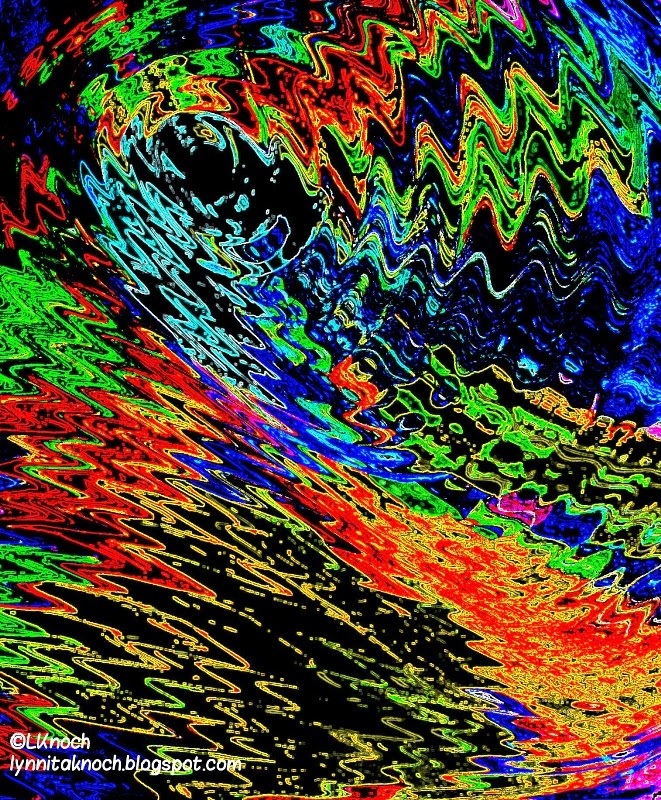
Autumn Leaves further modified in Paper Camera (another photo
editing application)  using the Neon Cola filter.  I think this
would make an interesting piece of fabric to use in quilting.

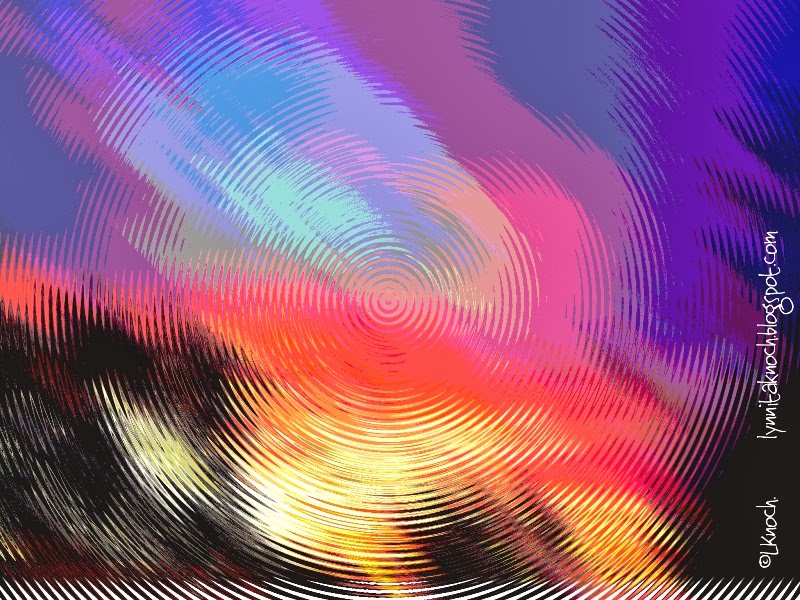
Sunset taken in November in Chandler, AZ.
Sunset after it's been rippled and posterized in Photoshop Elements.
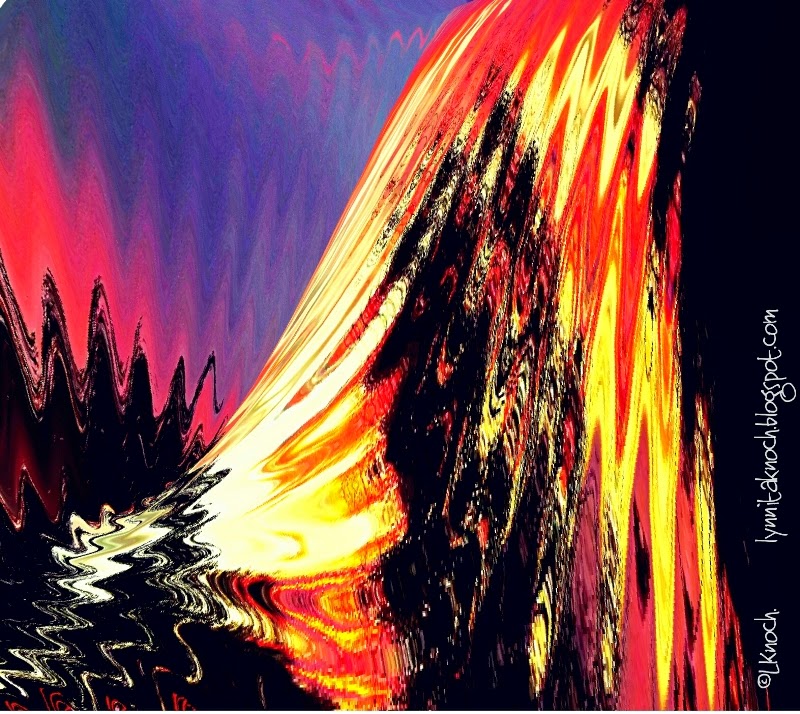
Sunset further modified by warping it. I think this would make a
fun piece of fabric for quilting. 

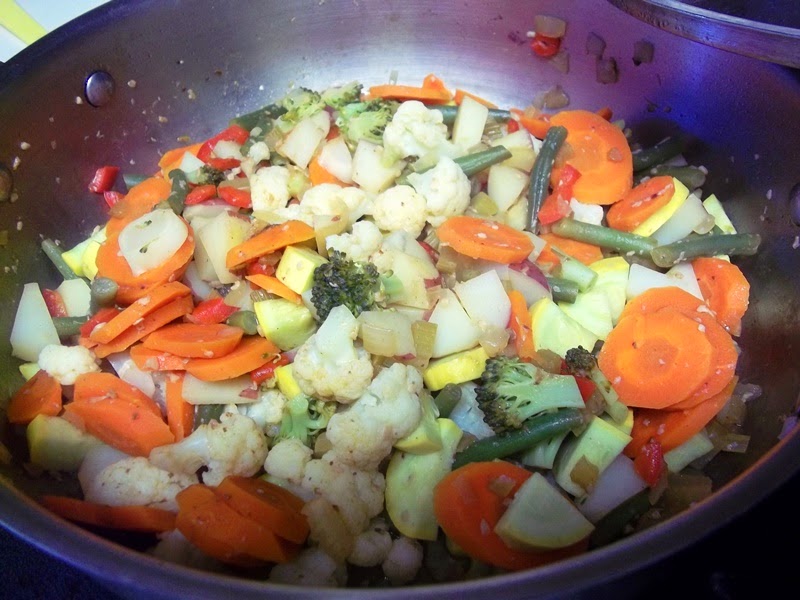
Pot of vegetables cooking to use in a chicken pot pie.
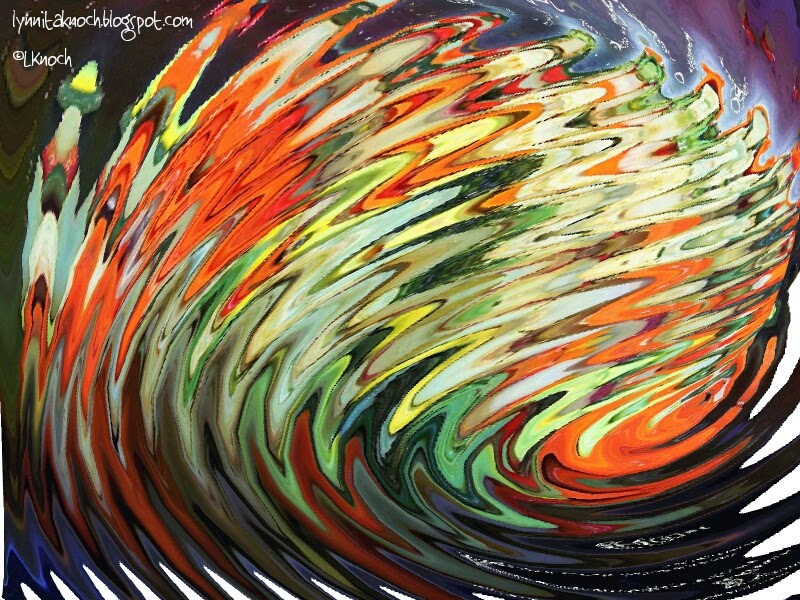
Pot of vegetables first rippled and warped and then adjusted the
color levels to add more red in Photoshop Elements. 
Pot of vegetables further modified by adjusting the
color "curve" values in Photoshop Elements. Another photo that
would make an interesting piece of fabric for quilting.
Pot of vegetables further modified by adjusting the color "curve" values
even more to create a softer color palette. Then a circular gradient was added to create the
 center oval of color.  Hard to believe this started out as a pot of vegetables!

I had fun playing with these photos in Photoshop Elements. I would like to have a much better understanding of layers, how to cut items out of a photo to paste in other photos, etc. I have done these manipulations a couple of times, but only able after watching a tutorial on them. I really struggled with cutting an item out of a photo. Will just keep playing! Thank goodness photos are cheap these days and I don't have to develop them to see the results!